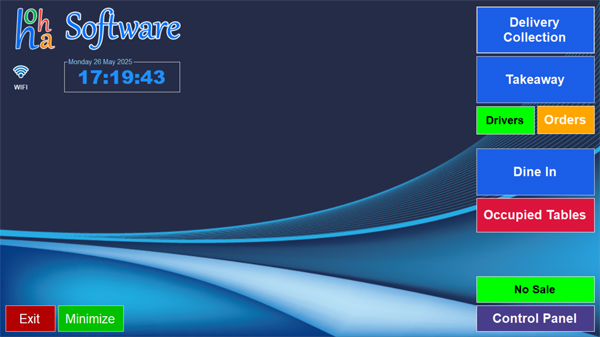
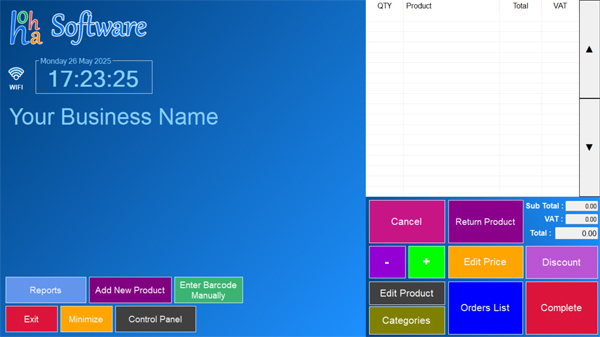
All in one POS System
(No Monthly Payments)
£490
£299
No Monthly PaymentsPay in 3 months with Klarna
Affordable pricing with no contracts.
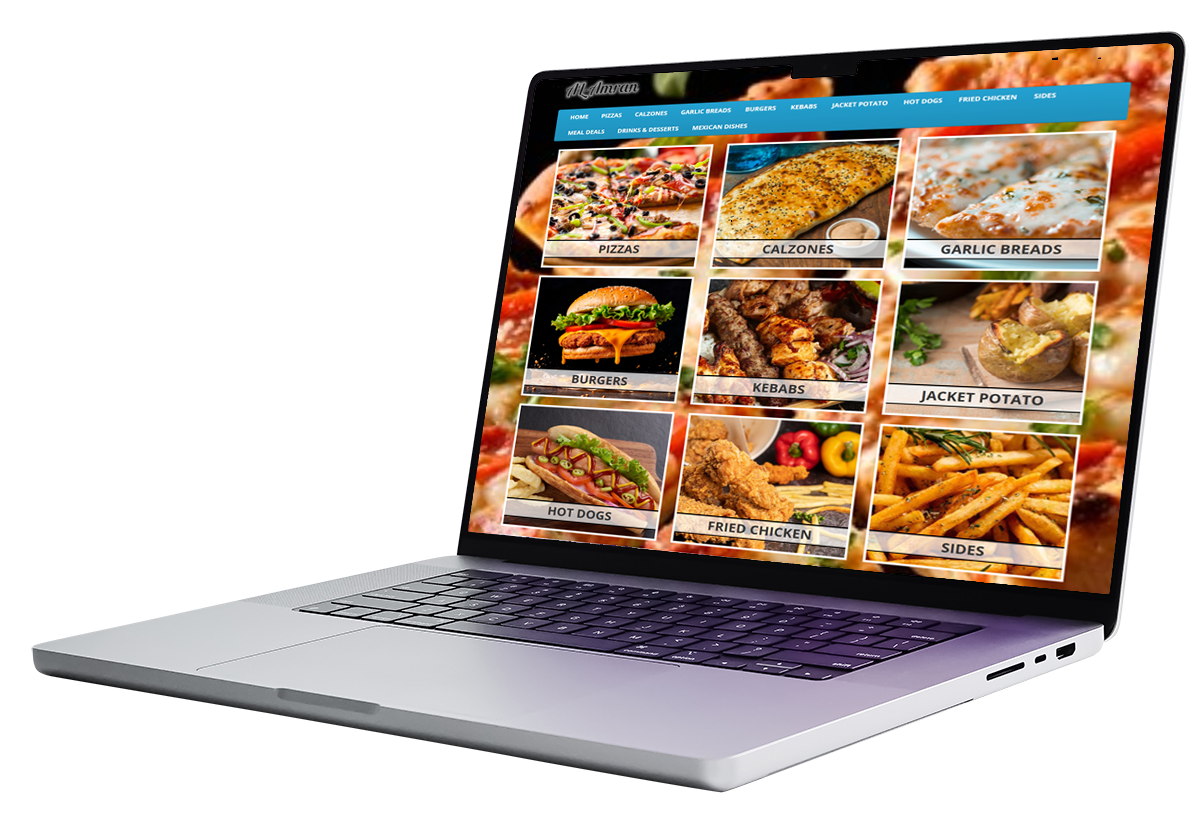
Get your own online ordering system at the lowest cost. No hidden fees!
Yes! Check out our Live Demo (customer view) and Admin Demo (backend) to see exactly how it works. Live Demo Admin Demo
We don’t take your money! Customers pay for orders, and the funds go directly into your Stripe/PayPal account. You keep 100% of your earnings (Minus Stripe/PayPal fees).
Absolutely! Simply update your domain’s DNS settings:
dns1.namecheaphosting.com
dns2.namecheaphosting.com
or contact us and we’ll handle it for you.
Yes! You can easily update your menu anytime through:
Our mobile app (on the go)
Website backend (full control)
Make changes instantly. No Waiting, No Extra Costs!
Just select a plan and follow the simple instructions. No complicated setup required. Restaurant Website Pricing

 Newton Heath

 St.Helens
 Cardiff
 Reddish
Middleton
Reddish
Middleton
 Great Moor
Ashton
Great Moor
Ashton
 Glossop
 Glossop
 Marple
Select Your Plan
 ,
, 
All the hardware you will need for your store
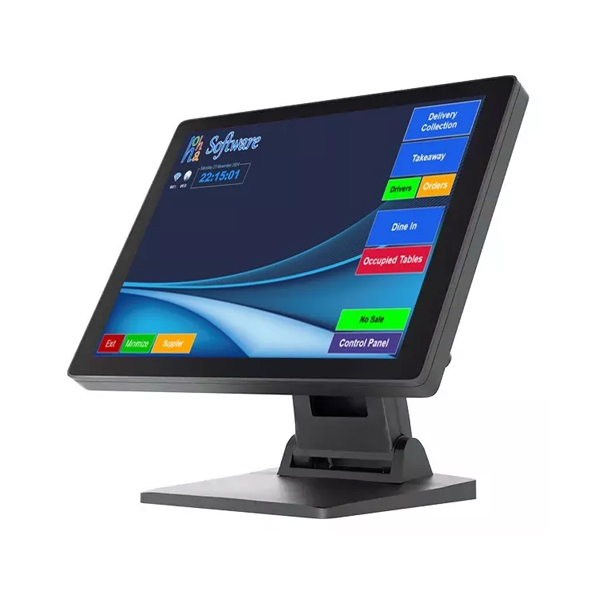
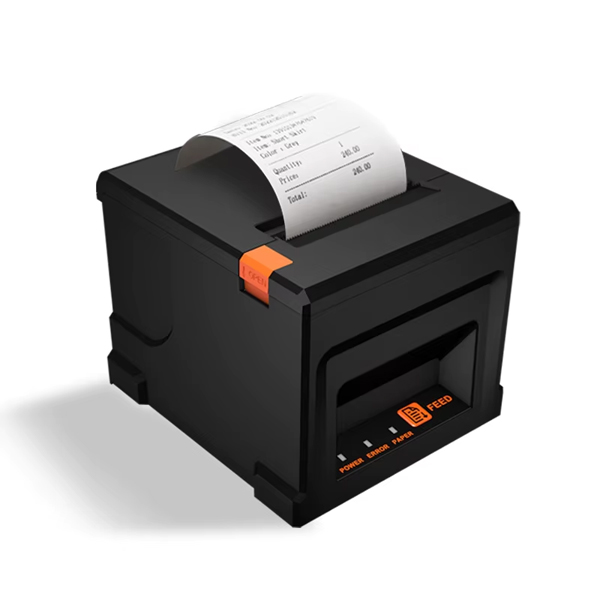
Restaurant / Takeaway / Retail Software
No Monthly Payment! £79.99
Absolutely! We offer a full 14-day free trial. Our team will set everything up for you. No technical skills needed. Just schedule a session, and we’ll handle the rest.
Only £79.99 – No monthly payments, no hidden fees!
One-time payment
Full features included
Works fine with new landlines (VoIP).
Free updates & support
No! We'll set up your full menu for free when you after you purchase the licence.
Yes! You have full control to update your menu.
No! Our software works offline - no permanent internet required. You only need connection for First-time setup (to register your business)
Works with all versions of Windows:
Windows XP
Windows Vista
Windows 7
Windows 8/8.1
Windows 10
Windows 11
🔹 No minimum requirements for computers, laptops, or POS systems
ℹ️ Note for Caller ID Service:
Only required if using customer phone number recognition:
Compatible with Artech CallerID devices:
AD101
AD102
No Monthly Payment! £79.99
Absolutely! We offer a full 14-day free trial with remote installation via AnyDesk. Our team will set everything up for you. No technical skills needed. Just schedule a session, and we’ll handle the rest.
Only £79.99 – No monthly payments, no hidden fees!
One-time payment
Full features included
Works fine with new landlines (VoIP).
Free updates & support
No! We'll set up your full menu for free when you sign up.
Yes! You have full control to update your menu.
No! Our software works offline - no permanent internet required. You only need connection for First-time setup (to register your business)
Works with all versions of Windows:
Windows XP
Windows Vista
Windows 7
Windows 8/8.1
Windows 10
Windows 11
🔹 No minimum requirements for computers, laptops, or POS systems
Enter your email below to send you download link and code!