How to Enter / Update Menu
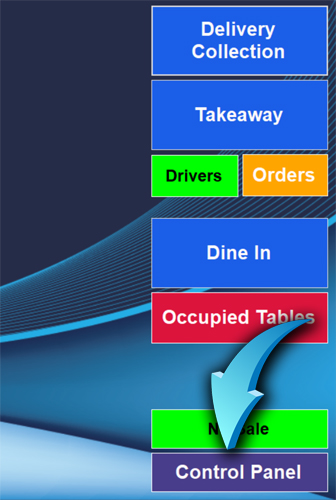
1. Run the software and click the "Control Panel" button.
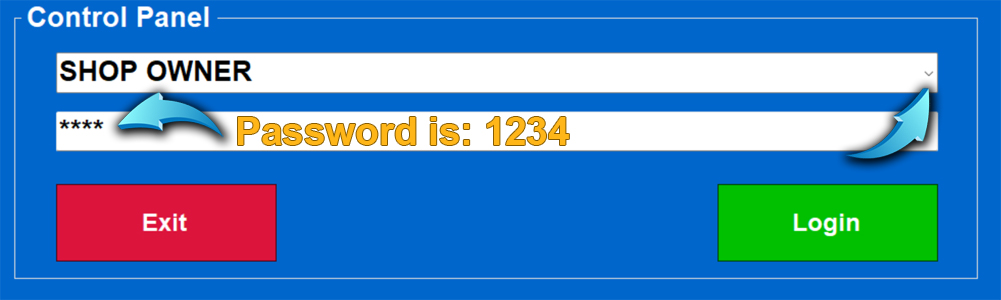
2. Click the small gray arrow, select "SHOP OWNER", enter "1234" as the password, then click "Login".
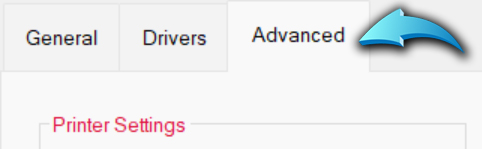
3. At the top of the Control Panel, click "Advanced".
4. If you installed the software before April 2024, you are using an older version. Click "Update Software" to get the latest version. After updating, repeat the previous steps. Then click the "Enter / Update Menu" button.
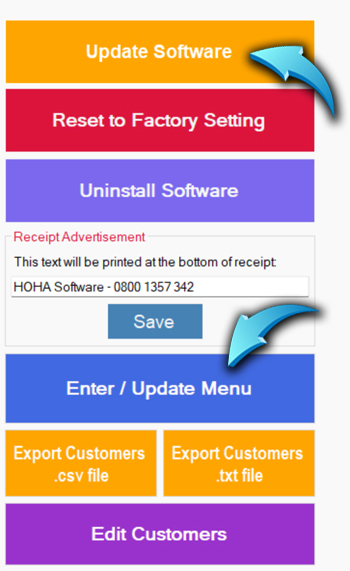
5. Click "Enter / Update Menu" again after updating.
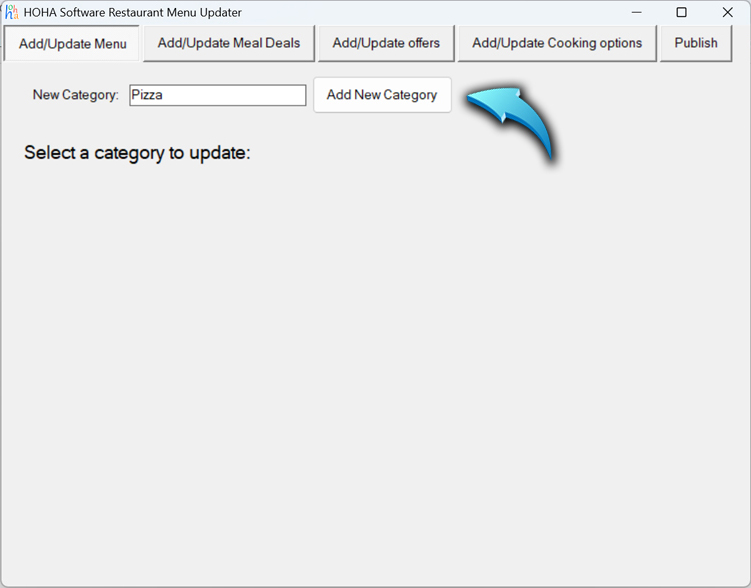
6. You can now add categories. For example, type "Pizza" in the "New Category" box and click "Add New Category".
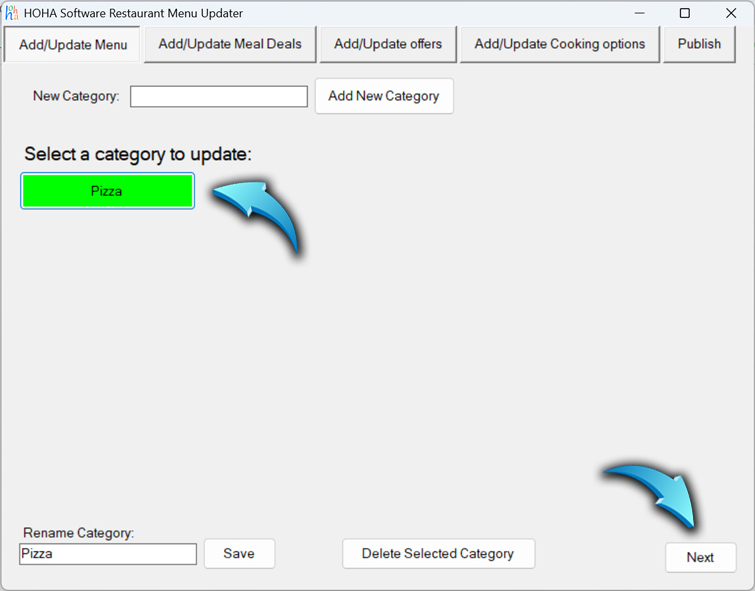
7. Click the "Pizza" button to select the category, then click "Next".
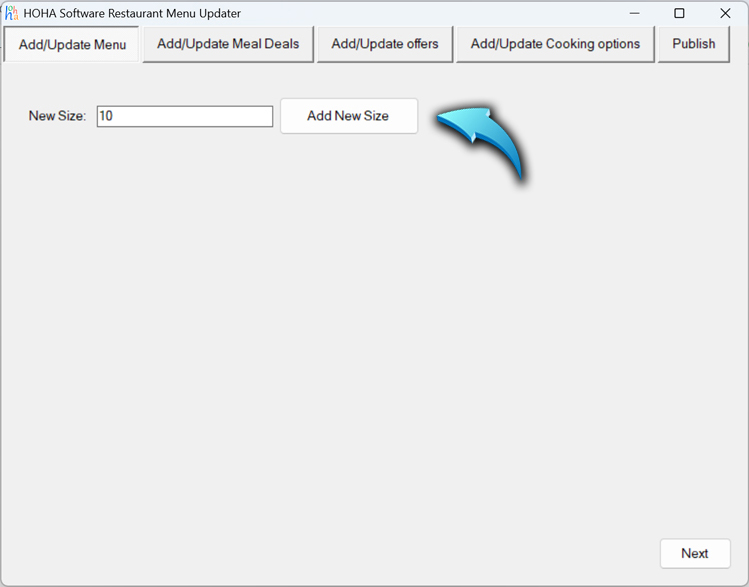
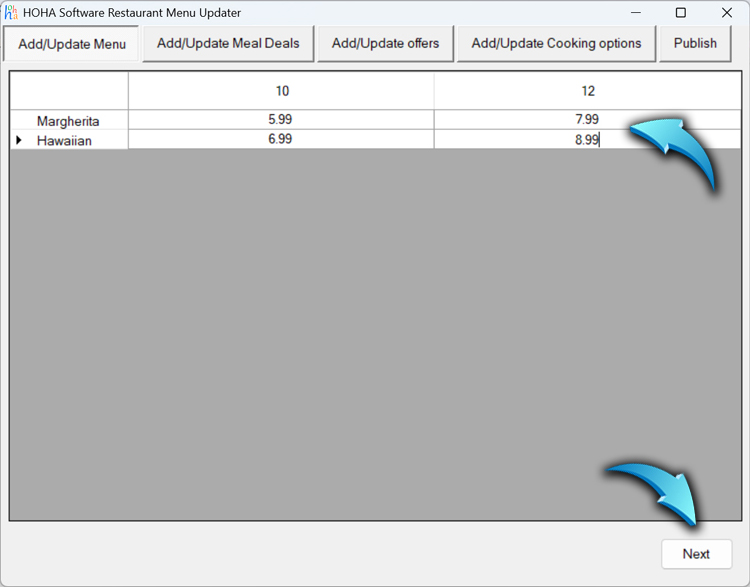
8. Enter all available sizes for this category. For example, type "10" in the "New Size" box and click "Add New Size". Repeat this step to add all sizes (e.g., "12").
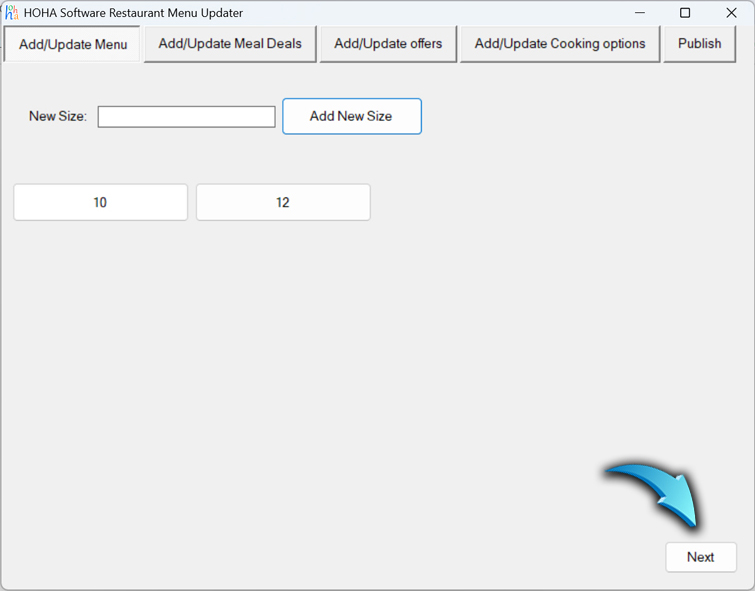
9. After adding all sizes, click "Next".
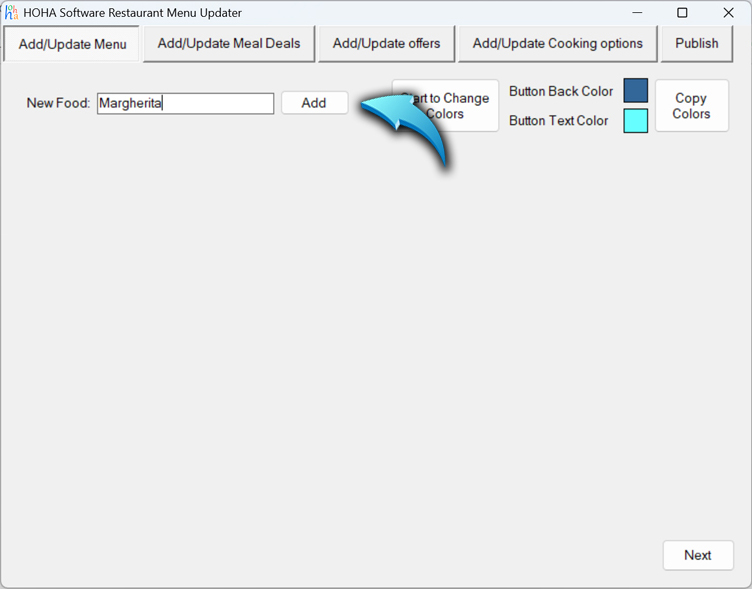
10. Enter the food items. Type the name in the "New Food" box and click "Add". For example, add "Margherita" and "Hawaiian".

11. After entering all items, click "Next".
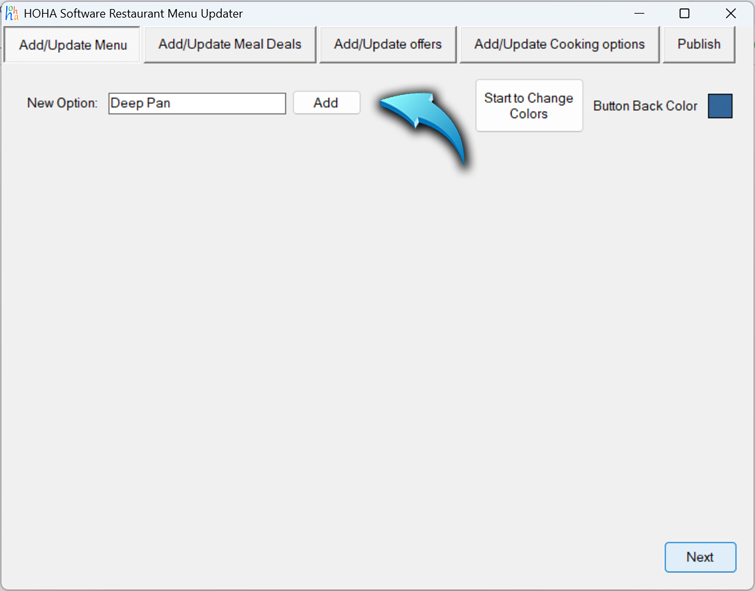
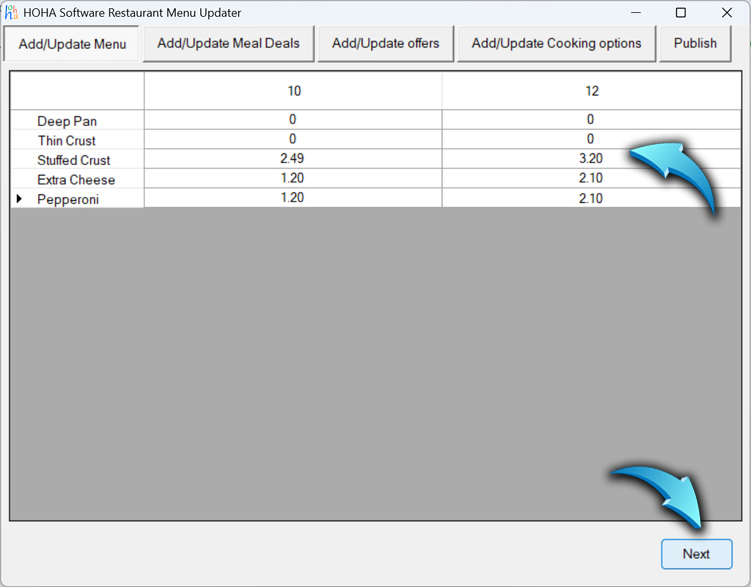
12. Enter all options related to the items, such as crust types and toppings. For example: "Deep Pan", "Thin Crust", "Stuffed Crust", "Extra Cheese", "Pepperoni". Add both free and extra-charge options.
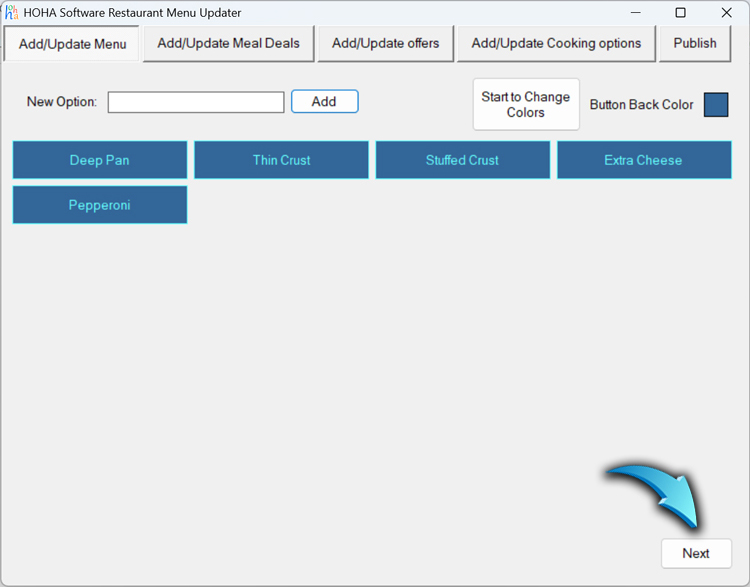
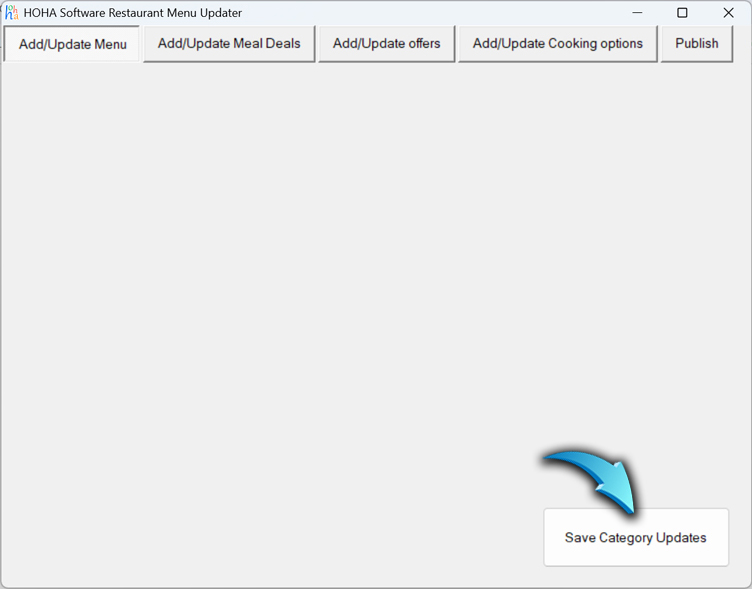
13. After entering all options, click "Finish".
14. If you want to update existing categories or items, click the relevant category button and follow the same steps to make changes.
15. When you finish updating the menu, close the menu editor window.
16. Finally, restart the software to make sure all changes are applied correctly.
